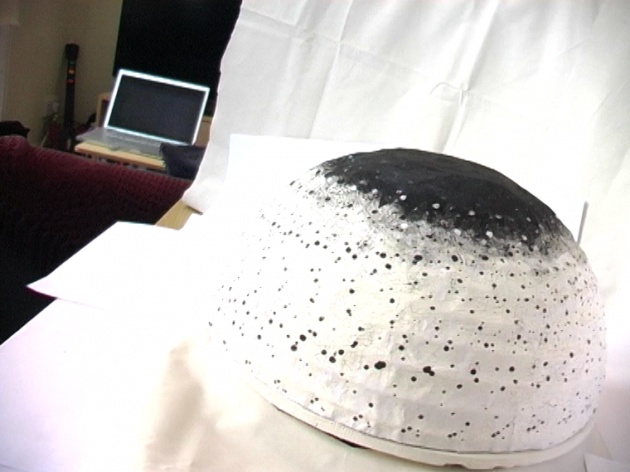
As promised in part 2 - here's the finished dome zoetrope!
I kind of regret the image processing I did with the footage (I basically just inverted the images and layered them up on some shots) as I think it detracts from the actual object - this imagery could really have been produced by any other means as there's no real indication of the fact that this is a zoetrope. I was still getting to grips with the technique though, and this was an important step in learning what was possible with it and how it should (or shouldn't) be presented in the future...

After this it was kind of back to the drawing board and I started to think about how I could plan more complicated animations in After Effects and Photoshop - this grid mock up was my first attempt at this, but it hasn't made it into reality yet.
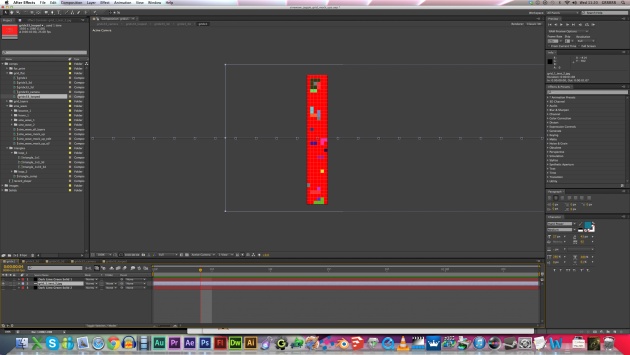
I basically created a photoshop file that was the width of all 33 frames, split it up into a grid and worked out one looping section at a time so that they would gradually build up and work together as a whole. Each loop is also on it's own layer so they can be turned on and off if they don't work together. The final image was then exported as a jpeg and taken into After Effects where I cropped it down so you could only see one 'frame' at any one time. It's then keyframed to reveal each consecutive 'frame' over the entire 33 frame duration of the loop. That composition was then placed into a 3D AE comp and duplicated 33 times, each one rotated 10.9º so they formed a cylinder, and offset by one frame relative to the previous one so that it formed a fairly decent representation of what the actual thing might look like.
This is the same mock-up placed into 3d space...
And this is the grid cropped to show just one frame - you can see the outline of the larger image and the keyframe positions for it to scroll across and animate.

This mocking up process formed the basis of a system in AE for producing relatively quick prototypes for future zoetropes - more on them in future blog posts...


