I had a fairly lengthy break from zoetrope stuff after the last one was finished, but I was thinking about it every so often and how I might approach my next attempt. One thing I knew was that I wanted to go for more complexity, so I started thinking about how that would work and what kind of things I could do with it. I eventually arrived at the idea of creating some sort of 'parent' shape within the zoetrope that could be observed from a distance and when you get close to it you would be able to see the surfaces animating. I would need to use transparent material like acetate so you could see through all of the layers right through to the centre, and there might even be a light source in the middle etc etc. This was all just in my head, so how was I actually going to make this possible in reality?
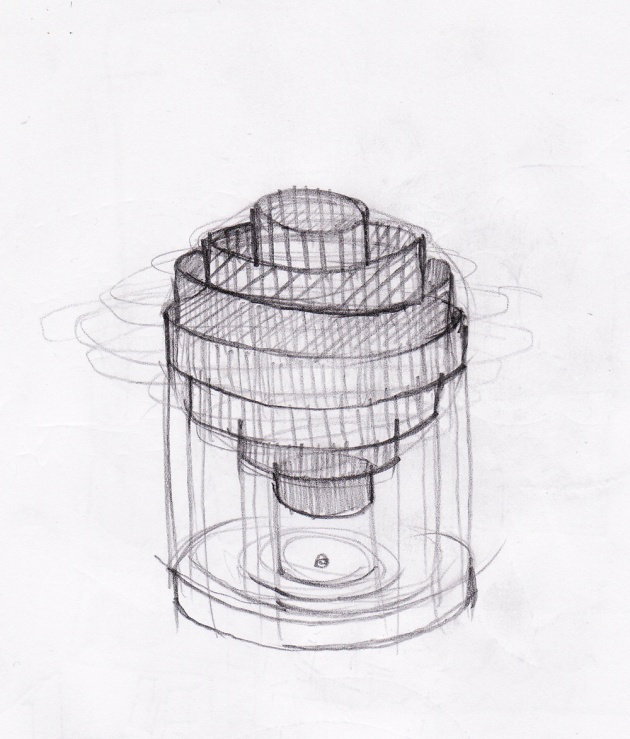
After doing some sketches, I decided that 20 layers would be enough to get a good curve going on this sphere setup that I thought I might try out (below is the sketch I made to figure that out), so I could start thinking about the structure I'd need to support 20 layers of concentric acetate sheets.
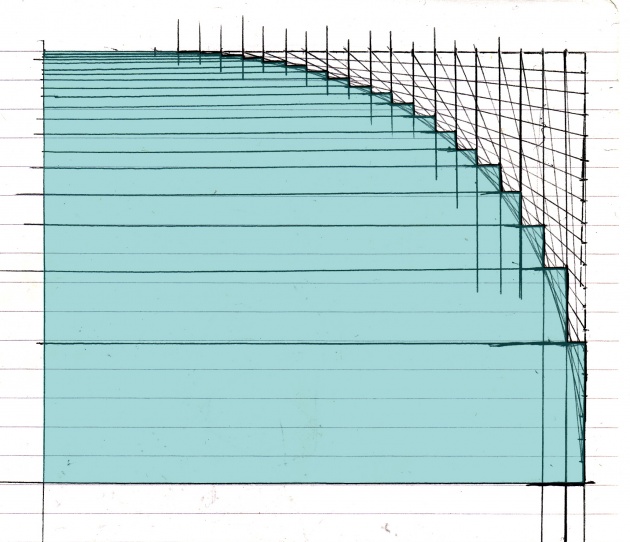
I arrived at my first design fairly easily, but the problem was that I couldn't find anyone able to make it for me as the measurements involved were just too delicate. I wanted this to be a proper, sturdy bit of design, so I was never going to be able to build this myself to any degree of accuracy. I sent the drawings to various manufacturers from CNC routers to laser cutters to water jet cutters, but none of them could help me and they probably would've been too expensive anyway.
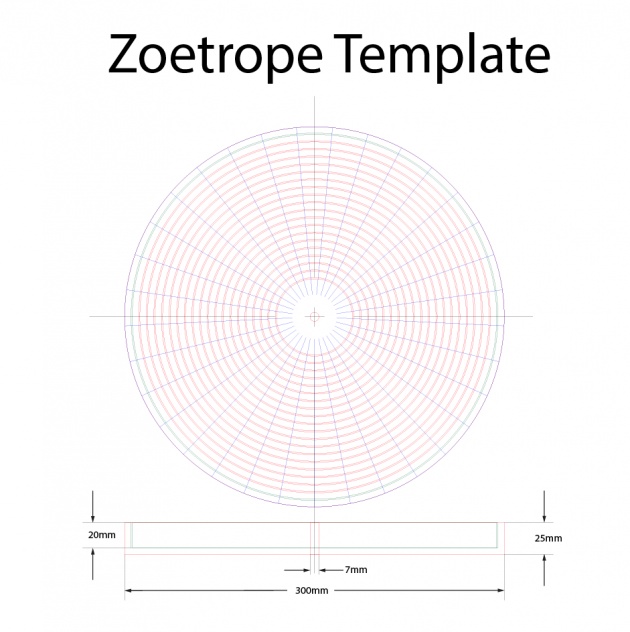
Eventually a light bulb went on though - 3D printing! This had to be the way forward - I could just sit at my desk and tweak the designs in Sketchup (free and easy to learn!), send it away and receive the thing in a couple of days! I can't wait until these things are cheap enough to have at home - the possibilities! Anyway, it wasn't quite as straightforward as that, needless to say.
This was the first model I sent to the 3D printing company to ask for a quote - £2500!!!
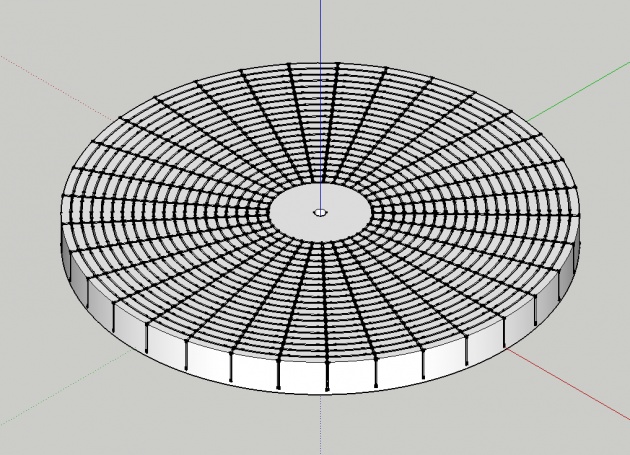
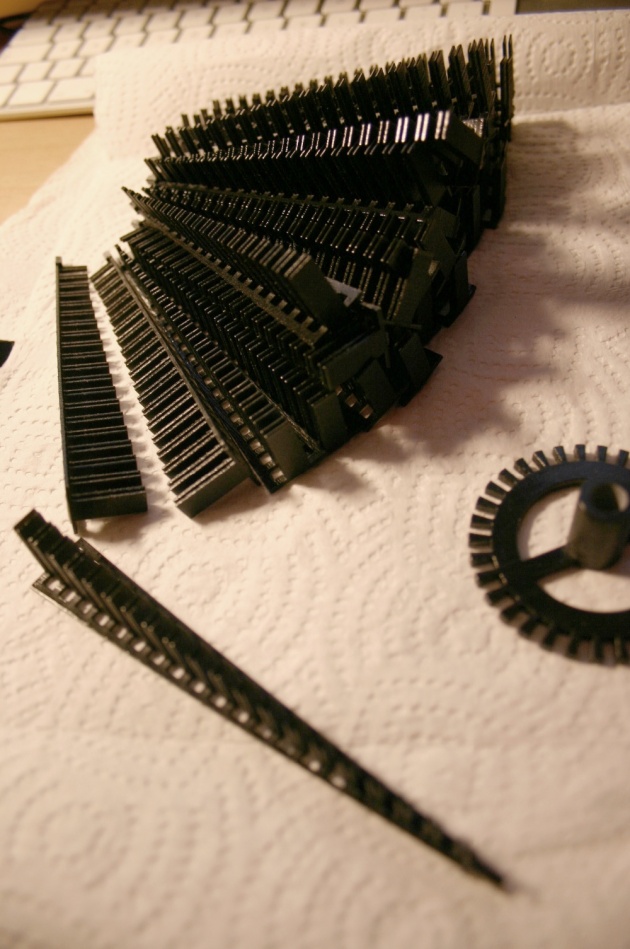
This is kind of the beauty of 3D printing though - the price is based on the volume of material that would need to be used to create the object. That first design is a big solid lump of plastic, but it took the guys just a few hours to get back to me with a price and the knowledge that I needed to drastically reduce it's volume in order for it to become affordable. So I started tinkering away at a new design and after a few variations on the theme I came up with this stripped back, modular design.
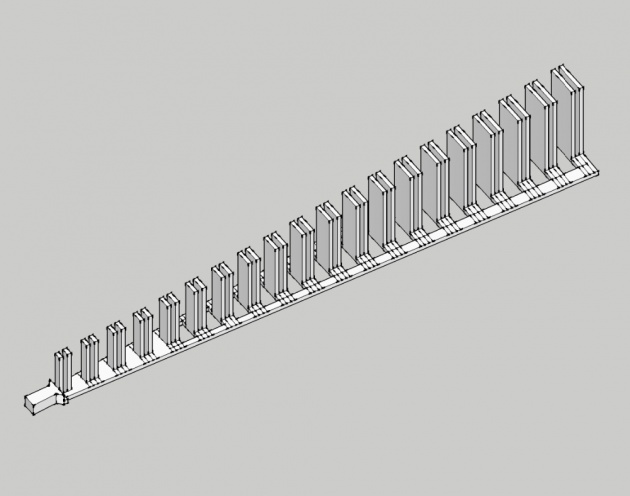
Each one of these spokes costs about £5 to print. It's stripped back just about as far as I could take it - the guides get shorter towards the centre, as I figured the acetate would need less support there, saving a few pennies, and there are holes just about everywhere. The spokes plug into a central piece that looks a bit like a cog, with 33 dovetail joints, so I can replace any of them fairly cheaply if they get damaged or broken.
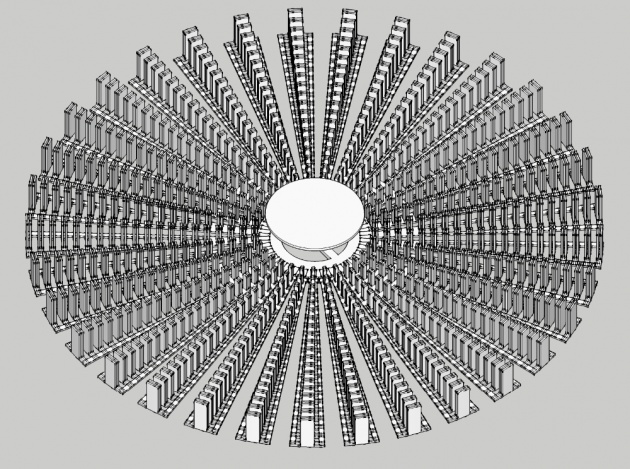
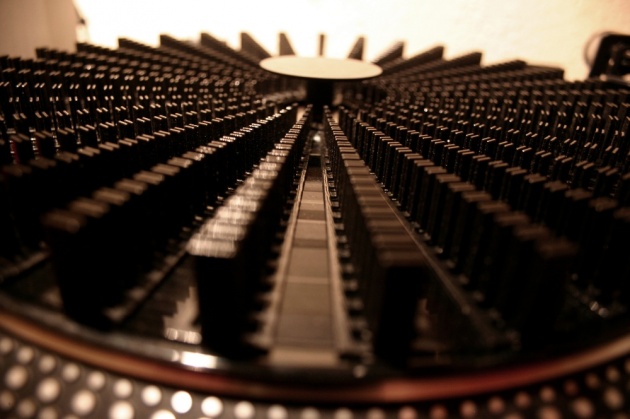
Here's the finished thing in reality! I had to sandpaper the edges of the dovetail joints a bit so they'd fit in, as well as the hole in the centre that fits over the record player, but apart from that, it worked pretty well. Now I just had to come up with something to put in the thing - more on that next time :)
