I can’t remember the last time when I took my DSLR camera somewhere beside the work. Why do I need to? It’s heavy and you won’t be able to have it around all day. You won’t bring it to a party or smth cause it’s expensive and you afraid to lose it. I don’t even bring a regular small camera (to be honest I don’t even have one) with me anywhere. Because there is always 99% chance that all pictures that you would take on a regular photo camera in your every day life you won’t see again. Just having an idea that after one of my casual dinners with friends I would have to get this camera, upload all those pictures to computer, go through them, pick the ones I like, retouch them and send it all to my friends is giving me no desire to take any pictures at all.
And that’s why right now your truly best friend is your smartphone. In my case it is iPhone. I can’t even imagine what would I do now without this piece of magic. I’m not going to go deep and telling how the technology went far these days because my main field id photography. So let’s talk about it.
As I said before I don’t remember the last time when I took my camera with me. Now my only full time camera is my iPhone. Because the quality that you have in there allows you to do pretty and amazing pictures. I don’t even start talking about the applications that allows you to retouch it. Sometimes when I go through photographers in Instagram who does pictures on iPhone only, I always say to myself: “Are those real? They were taking on an iPhone?!”. I become speechless because they were. And I perfectly understand that it would take me much more time to edit and upload the same picture if it had been shoot on a regular DSLR camera. When you do it on your phone it takes you maximum 5 minutes to edit and upload picture to a social network. And this allows you to share the exact moment where you are right now. It helps you to promote your business, share pictures with friends and families. And that’s why I want to share with you guys some tips about “Smartphone” photography.
Lets’ start:
1) First tips that I’m going to give aren’t something you. We all know about them but somehow we don’t use them.
- When you take pictures on your smartphone please make sure that there is enough light for that. By light I mean day light/room light any light at all because in that way you would have the most best quality. Be creative, use any light devices that you can use.
- Always focus on an object that you shoot. It’s not such big news, isn’t it? But again very often people forget this.
- Exposure. It is little bit trickier; if you have a light behind the object that you shoot obviously your object will be dark, but the background light. If you not care as much about the background you can always just put focus on an object and camera will take exposure from it and it will be light, but background will be overexposed (too bright). If you want to keep background as well in your picture you may just use HDR function on your camera. But sometimes it doesn’t quiet work well (when the difference in the exposure of the background and the object is too high), in that case I use other applications cause unfortunately iPhone camera doesn’t has it yet. One of the most popular apps is “Camera+”. You have the ability there to put a focus on an object, and at the same way you may put a different “exposure” point on a background and it makes it look good. So in this case you may have great exposure on you picture.
2) Second part is editing. The greatest rule when you shoot on a DSLR camera is when the picture came out bad you always have a hope that the Photoshop will save it (what actually work 80% of a time) doesn't quite work for a smartphones. Therefore you should try to take a good quality picture from the start.
But anyway all those applications for editing on a smartphones still do miracles:)
I’ll share with you my favorite ones:
- SNAPSEED ![]()
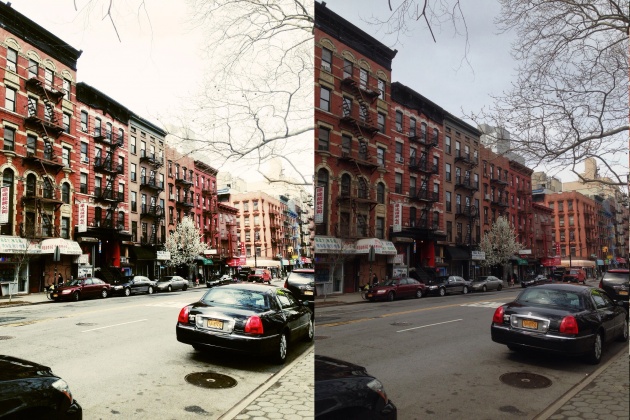
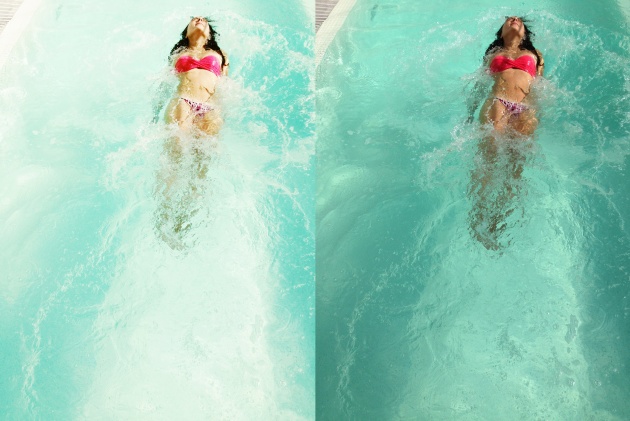
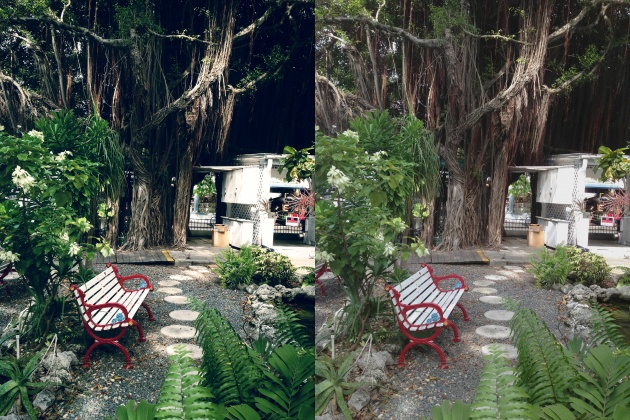
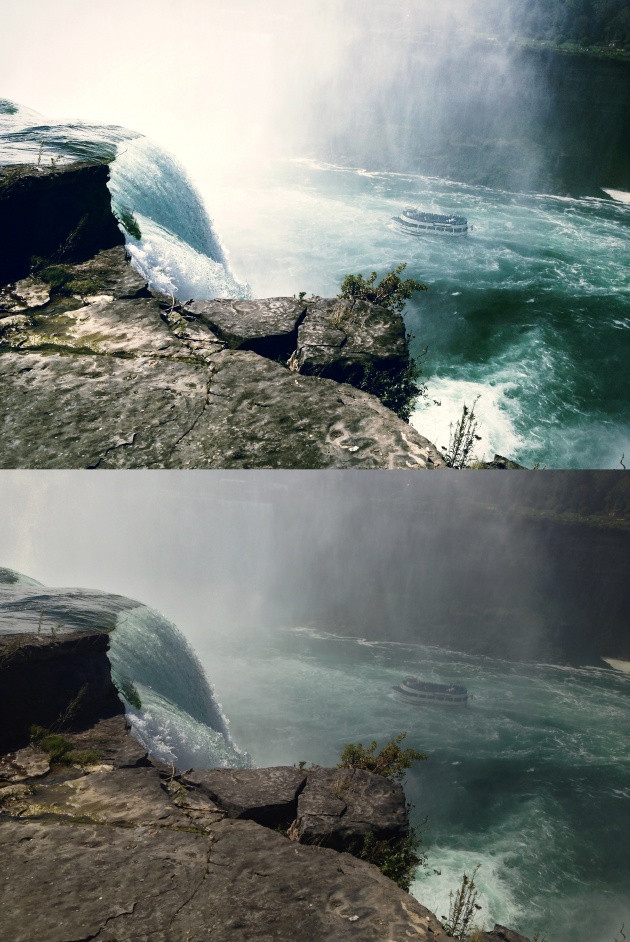
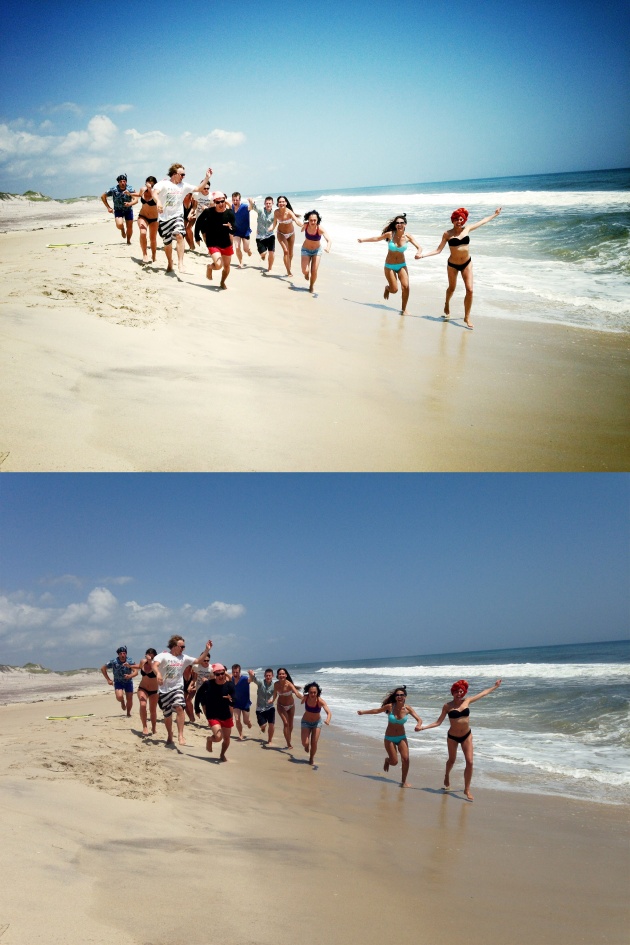
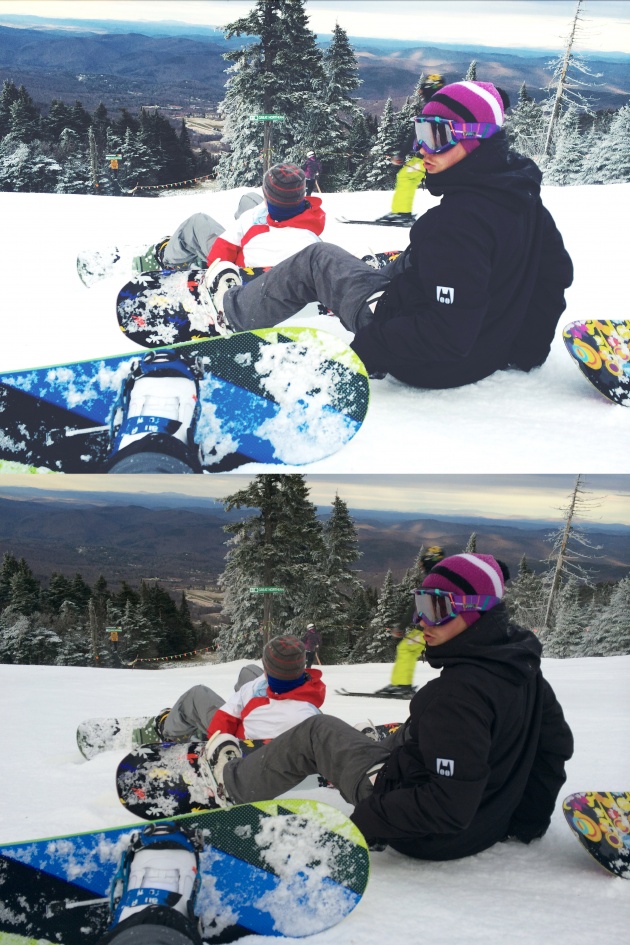
It's the Google application, one of my favorite ones. It allows you to do lots of things, such as editing separate parts of the pictures at one time (light/brightness/shadows etc.). It has great filters that you can actually fit to you pictures by adding more grain/texture/color/ etc. or instead by taking off if you think that your picture is over edited.
A few examples:
- ALT PHOTO
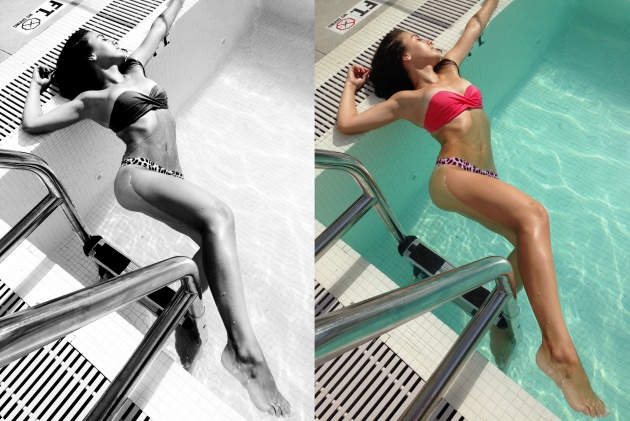
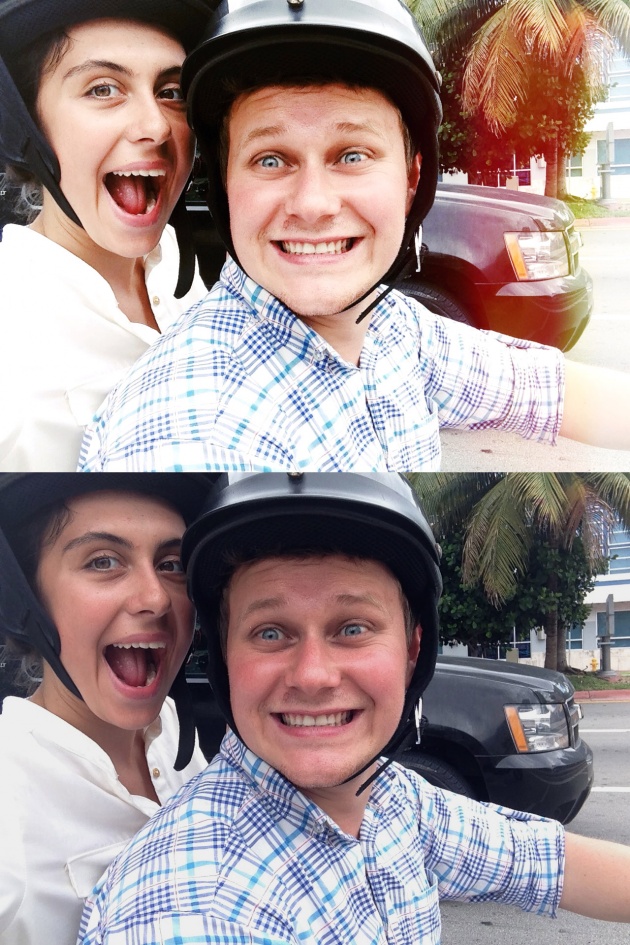
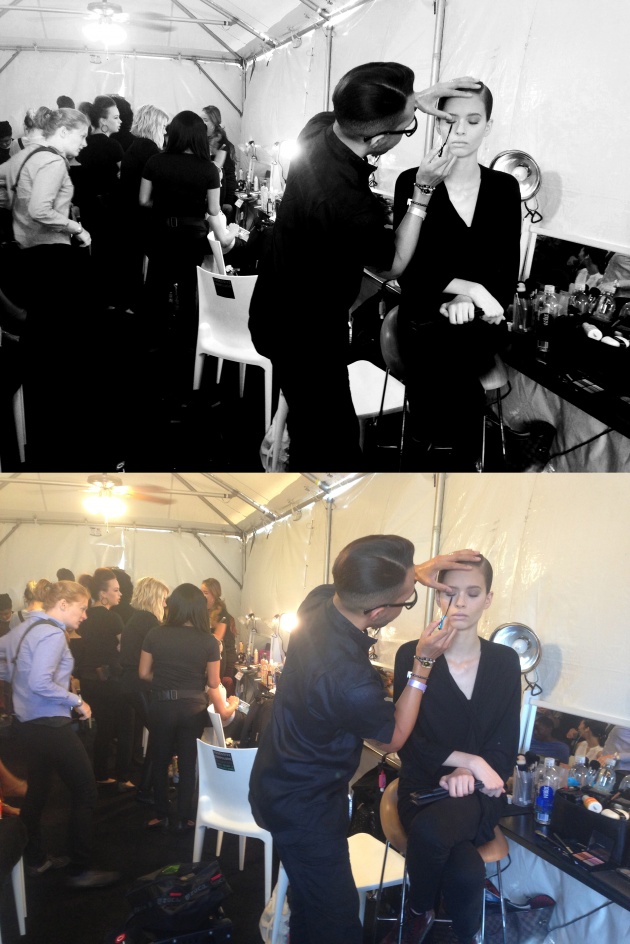
it doesn't allow you to edit picture that much but it has lot's if great filters.
A few examples:
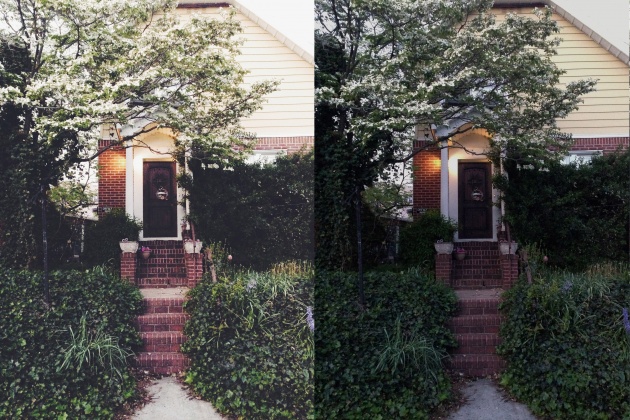
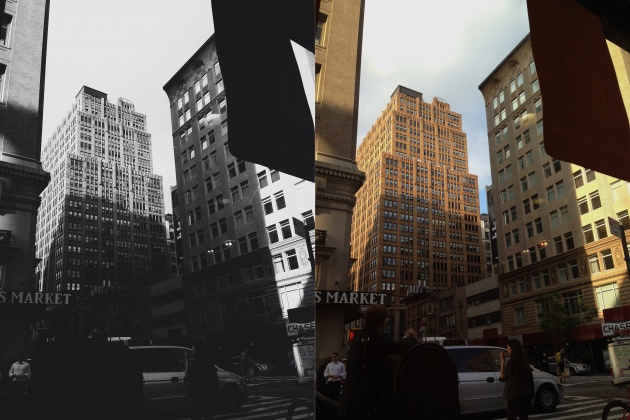
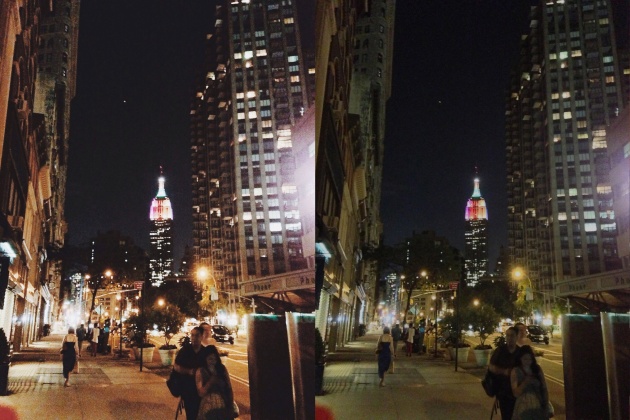
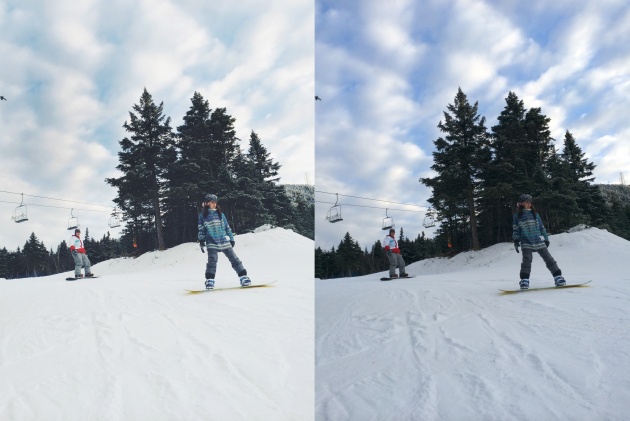
- VSCO CAM ![]()
It is my favorite application so far! I opened it to myself recently and I just can't get enough of it!! It has lots of amazing photo filters/effects that I was trying to recreate and get even close look to it by lots of the different applications. And it also allows you to edit your picture! It has all settings that you need: saturation/temperature/sharpness/highlights/exposure and lots of more. And the most great thing makes that app even more easier is the great navigation system, You can't even imagine how it user friendly. If before I had to spend a few minutes to figure out how the new app works, so with the VSCO Cam I started to edit pictures right away, it is very easy and understandable.
A few examples:
- SQUAREADY ![]()
It is a very great and simple application that allows you very fast to crop picture in a way you need it. For example if you want to post in Instargam, a beautiful city view and you don't want to crop it to a square size, this app allows you to fit you a full picture to a standard square size, Check it out
I hope guys you found it helpful even if you haven't read something new. At least I hope I inspired you to do more beautiful and creative pictures on your smartphone.
Be smart, Be creative!
Follow my tumblr page for more iPhone pictures: http://alenasoboleva2.tumblr.com/


